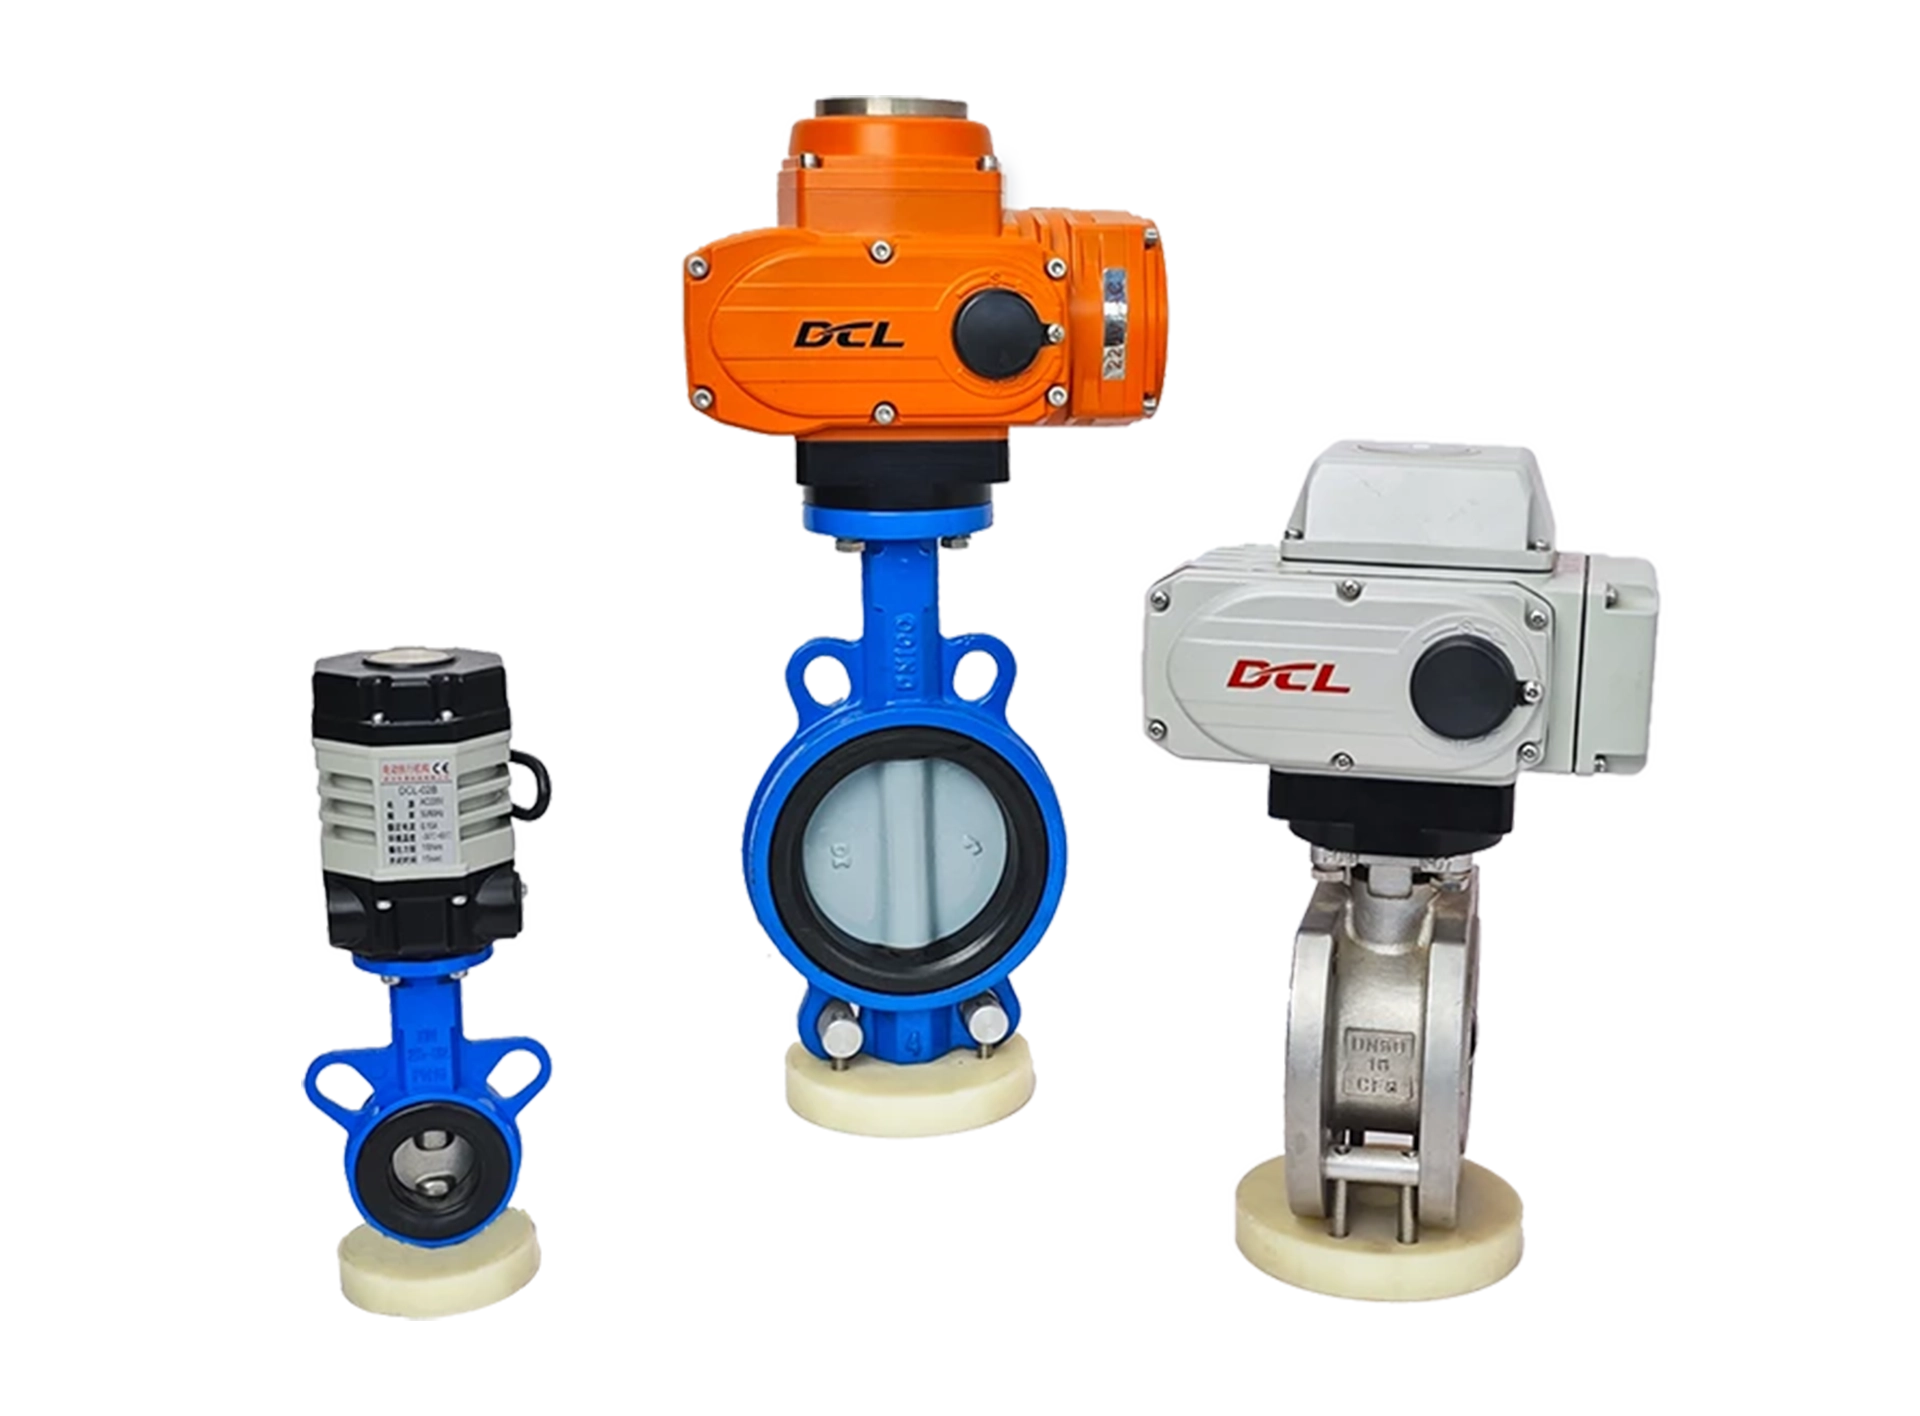
位置発信器付きON-OFFアクチュエータの設定方法は?

1. Mechanical Installation 1. Mechanical Installation Refer to the “How to Install the Actuator onto the Valve” section to correctly install the actuator onto the valve and manually operate it to confirm proper functioning. Follow the guidelines in “How to Set the ON-OFF Electric Valve” to properly adjust the actuator’s electrical limits (close limit CLS and open limit OLS) and mechanical limits. Important Notes: Unless specified otherwise, the actuator’s stroke angle between the fully closed and fully open positions is typically 90° during factory debugging. The output current corresponds to 4mA when fully closed and 20mA when fully open. The position potentiometer has been calibrated during the valve matching process, […]
電動調節弁の設定方法

1. Installing the Actuator onto the Valve Follow the installation instructions in “How to Install the Actuator onto the Valve” to correctly install the actuator on the valve. Confirm normal operation by manually testing the valve movement. 2. Adjusting the Mechanical Limits for Fully Closed Position Use the handwheel to move the valve to the fully closed position. Ensure the mechanical limit stop does not touch the adjustment screw or housing. Loosen the scale plate locking screw, adjust the scale plate so that the pointer aligns with the 0 degree mark (SHUT position), and then tighten the locking screw. 3. Adjusting the Mechanical Limits for Fully Open Position Use the […]
ON-OFF電動バルブの設定方法は?

1. Adjusting the Fine-Tuning Electrical Limit Full Close Adjustment: Use the handle to drive the valve to the fully closed position. Loosen the scale plate locking screw and adjust the scale plate so that the pointer aligns with the 0 mark (SHUT direction). Then, tighten the screw. Using a 2mm hex wrench, turn the closing adjustment shaft (S) clockwise until the travel stop D1 rotates clockwise and triggers K2 and K1 sequentially, making a clicking sound. Stop turning when K1 clicks, completing the full-close position adjustment. Full Open Adjustment: Use the handle to drive the valve to the fully open position so the pointer aligns with the 0 mark (OPEN […]
バルブへのアクチュエータの取り付け方法は?

Installation Steps Manually rotate the valve to check for any abnormalities and ensure the valve is in the fully closed position. Secure the mounting bracket onto the valve. Fit one end of the coupling onto the valve stem. Manually drive the electric actuator to the fully closed position (pointer aligned with SHUT or zero-degree marking) and insert the actuator’s output shaft into the square hole of the coupling. Tighten the bolts connecting the bracket, actuator, and valve body. Manually operate the actuator through its full stroke to ensure smooth movement, no misalignment, and no eccentricity. Check if the valve can fully open and fully close within the actuator’s position indicator […]
なぜ爆発保護が必要なアクチュエータがあるのか?
1. What is an Explosion? An explosion occurs when flammable substances mix with oxygen and ignite under certain conditions. If the reaction speed exceeds the speed of sound, it results in a destructive explosion wave. 2. What is Explosion Protection? To prevent explosions, at least one of the three key factors must be controlled: Flammable substances Oxygen Ignition source Since flammable substances and oxygen are often unavoidable in industrial environments, the ignition source must be controlled. Electrical equipment is a potential ignition source due to:✔ Surface heating during operation✔ Electrostatic discharge✔ Sparks from electrical currents Explosion-proof electrical equipment is designed to prevent excessive surface temperatures and electrical sparks, ensuring […]
換気バタフライバルブ トルク参照表

Are you still struggling to determine the torque for ventilation butterfly valves? With this table, you can quickly find out the required actuator torque for butterfly valves of different pipe diameters. Note: This data applies to most ventilation butterfly valves and can be used as a design reference. When selecting a butterfly valve manufacturer and model, please refer to the technical parameters provided by the manufacturer!

