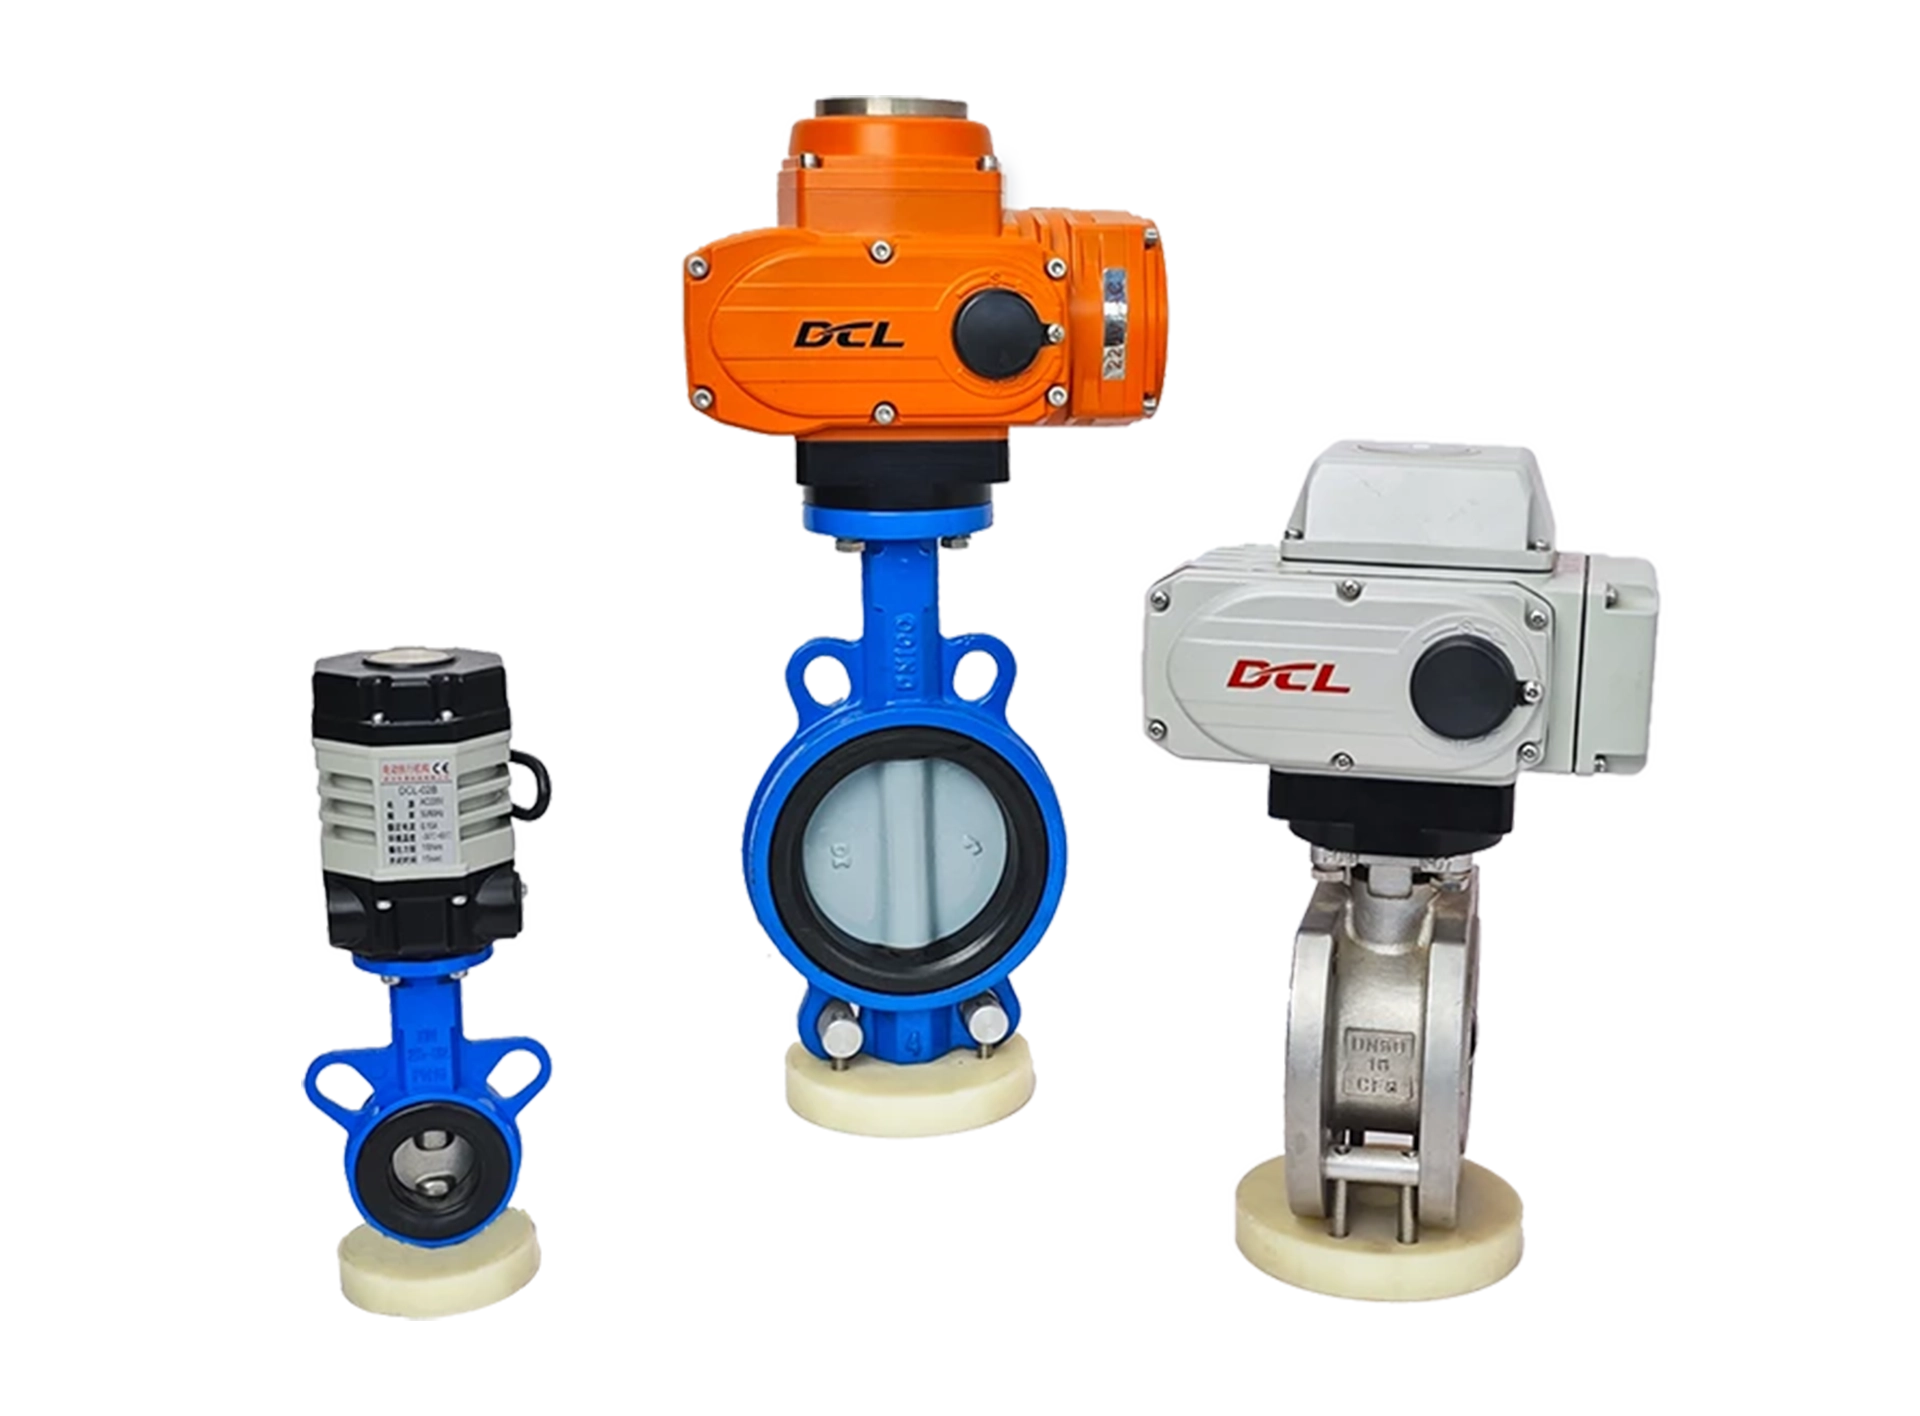
1. Install actuator onto the valve
- Turn the valve in fully closed position.
- Install the bracket on the valve.
- Connect the coupling on the valve shaft.
- Drive the actuator to the fully closed position with manual handle.
- Insert the actuator output shaft into the square hole of the coupling.
- Tighten the connecting between these parts.
- Drive the actuator with manual handle to in the travel range, checking if turning smooth.
Attention: make sure the concentricity of connection shaft in the mounting process and do not use excessive force.
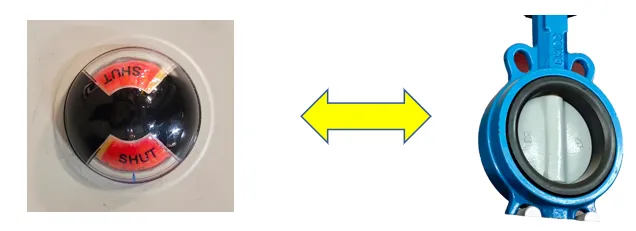

2. Check mechanical limiter

- The mechanical limiter has been set in the right position after manufacturing.
- Normally we just need to double-check the space between the full open/close position and the mechanical limit position is more than 2.5° after installation.
- Make a slightly adjustment if necessary.
3. Wiring
- Use a shield wire for 4-20mA signal
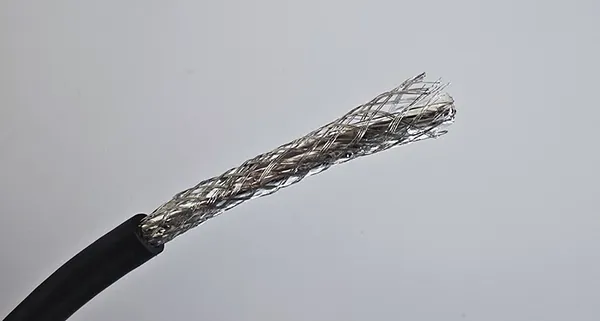
- Separate 4-20mA signal line from power line

- Head the wire downwards to avoid water infiltration
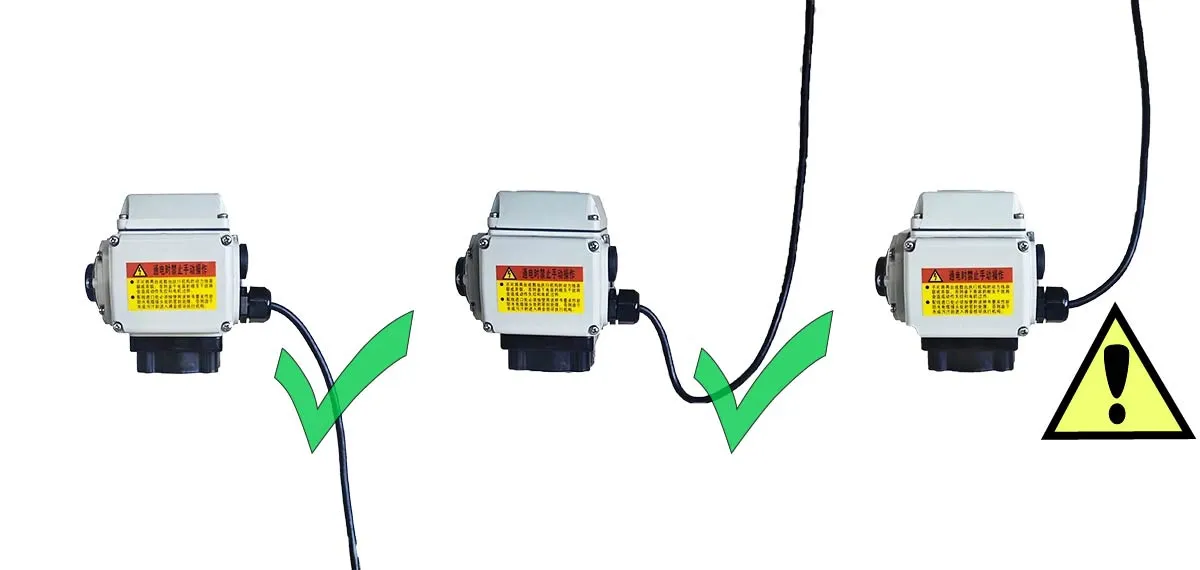
4. Set end-position of Open/Close

- Turn S-A to 2.
- Configure Fully Close Position
- Press the Open/Shut button to drive the valve to the fully closed position.
- Hold the Set button and then the Shut button until L2 is turned on which means the fully closed position configuration is done.
- Now you could release these 2 buttons.
- Configure Fully Open Position
- Press the Open/Shut button to drive the valve to the fully open position.
- Hold the Set button and then the Open button until L2 is turned on which means the fully open position configuration is done.
- Now you could release these 2 buttons.
Note: When the fully open and close position was configured with the same position, the configuration will be done successfully. But the actuator will not rotate in modulation mode.
5. Start to Use
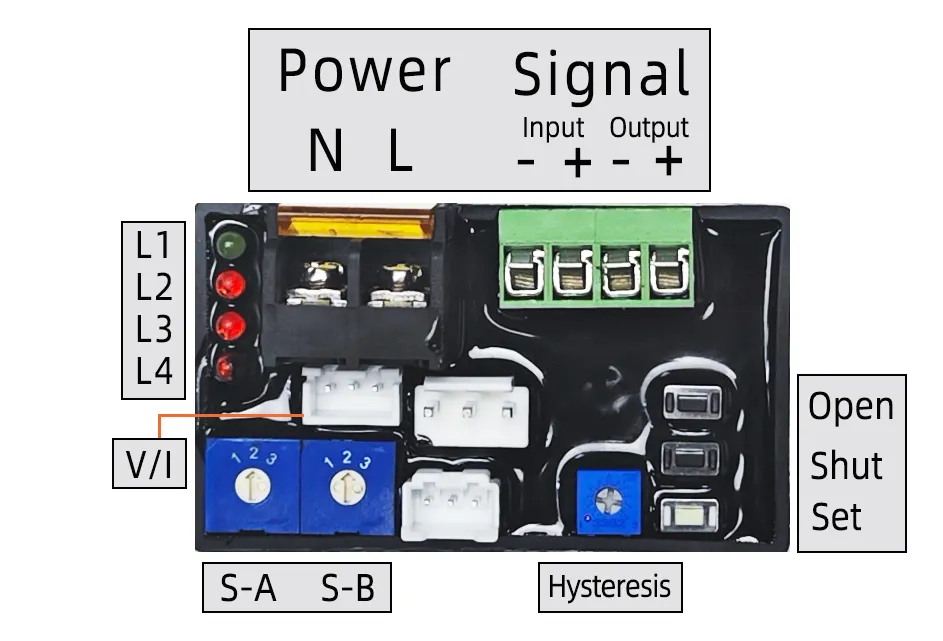
- Turn S-A to 1 to start modulation









 鄂公网安备 42018502006527号