Installazione e utilizzo
5 steps to start using DCL actuator Install actuator onto the valve Check mechanical limiter Wiring Set end-position of Open/Close Start to Use How-tos View More > Application Notes View More > User Manual View More > Previous:FAQ Next:5 Steps to Start Using DCL Actuator
Documentazione tecnica dell'attuatore DCL
Standards (ISO/GB/EU) View More > Technical Articles View More >
Manutenzione e riparazione dell'attuatore DCL
Common Faults & Troubleshooting for ON-OFF Actuator for Modulatiing Actuator for DC24V Actuator for DCL-02 ON-OFF Actuator for DCL-02 Modulating Actuator More View More >
Come impostare l'isteresi dell'attuatore?

Setting the hysteresis allows the actuator to better match PID closed-loop control applications. Steps to Set the Hysteresis: Turn the S-A switch (highlighted in the red box below) to position 2. Rotate the adjustment knob (highlighted in the yellow box) to set the hysteresis. Each scale mark represents 0.5%. The adjustable hysteresis range is 0.5% […]
Che tipo di valvole possono pilotare gli attuatori elettrici DCL?
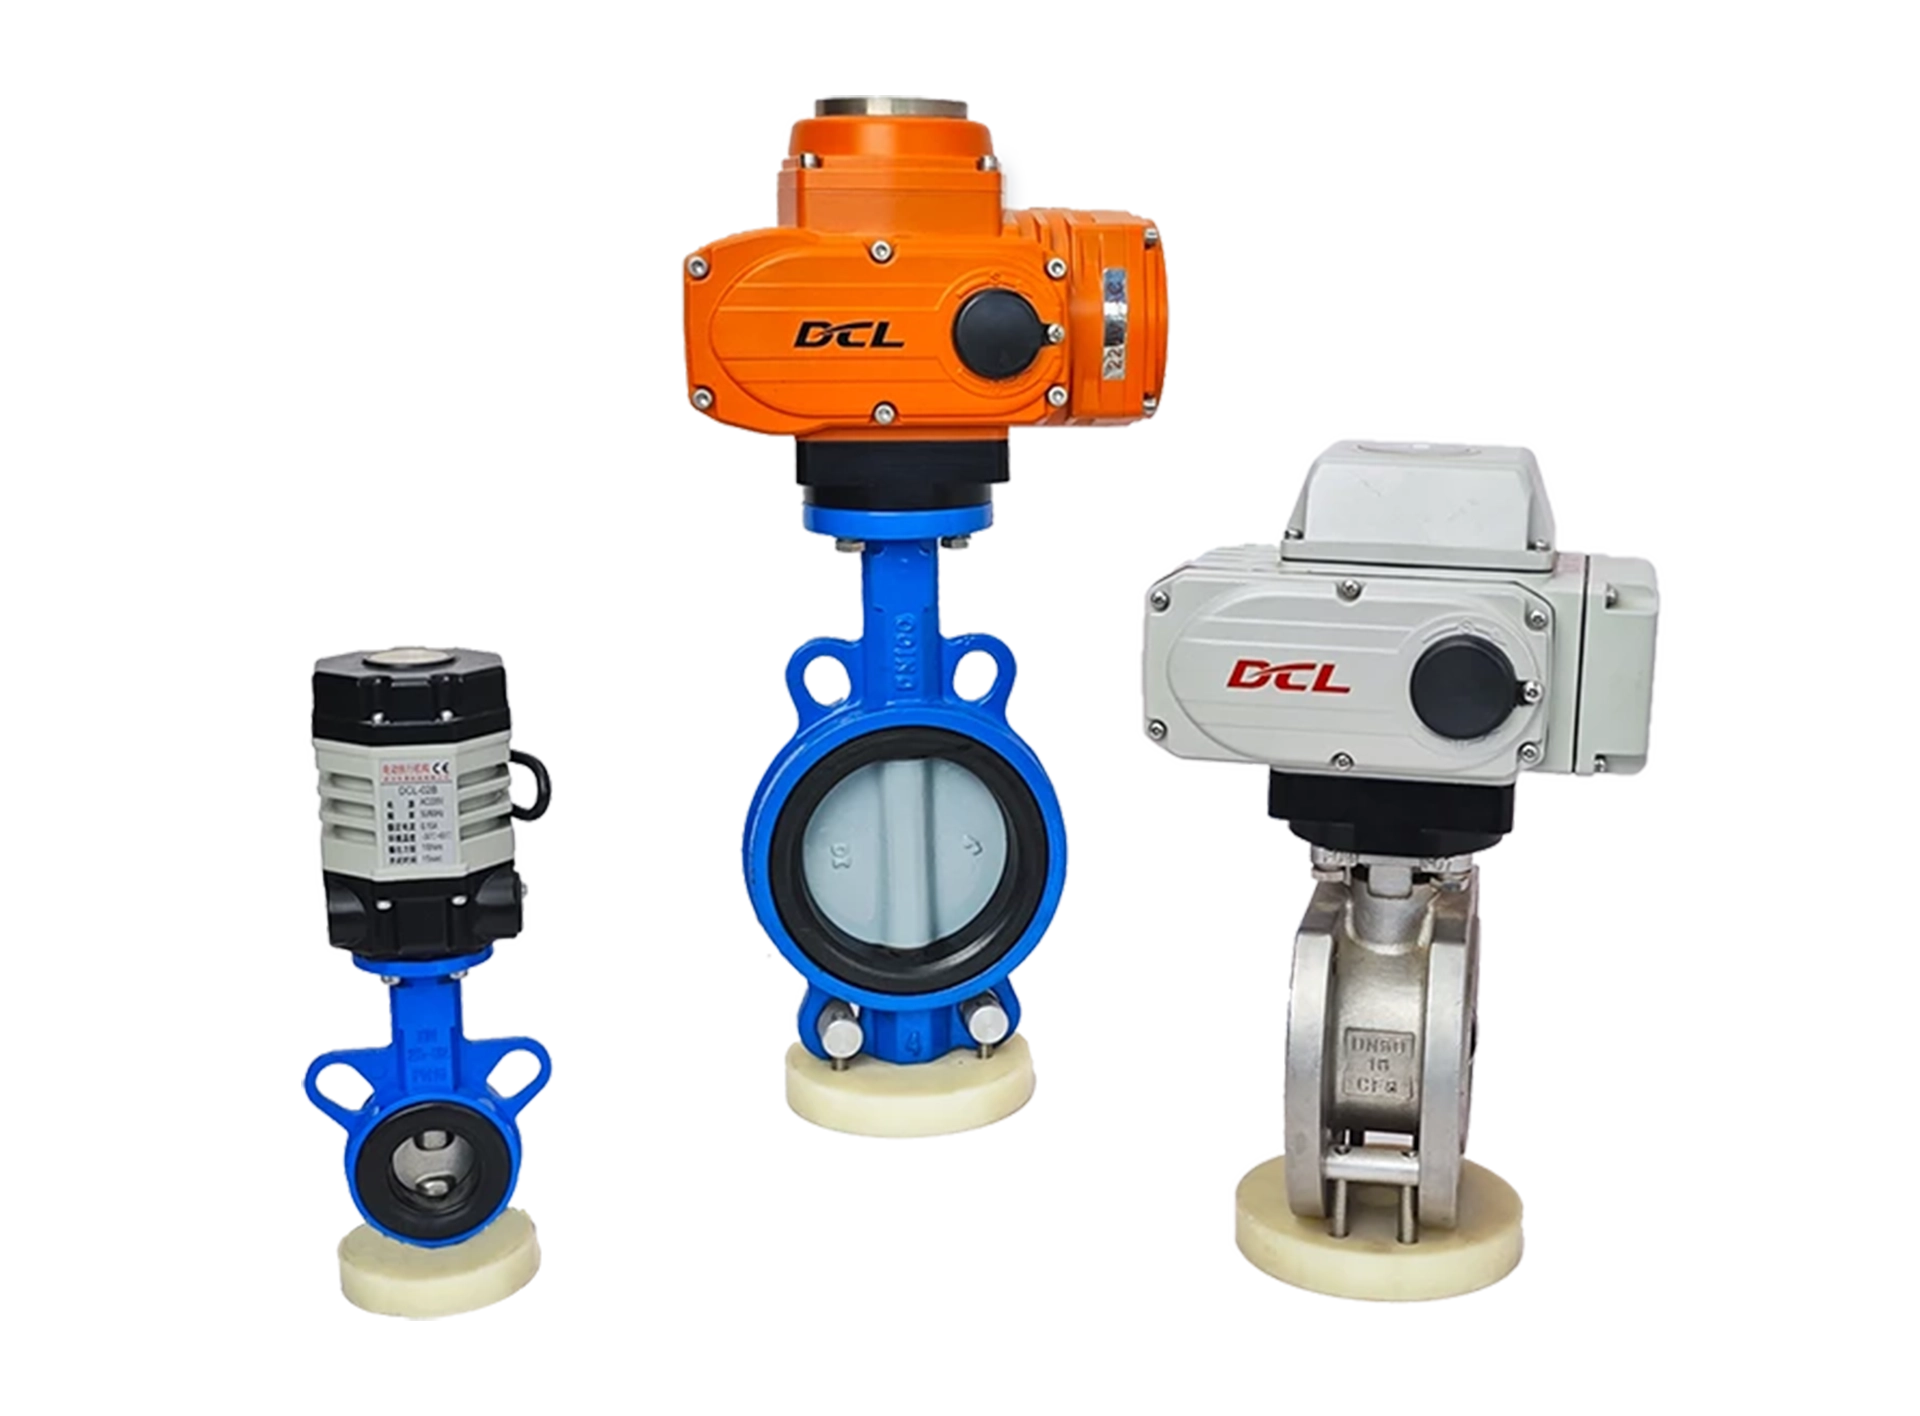
The DCL electric actuator is mainly used to drive butterfly valves with a diameter of less than 600mm, ball valves with a diameter of less than 350mm, and ventilation dampers and air flap valves with a diameter of less than 1200mm. Beyond these applications, some interesting use cases are also worth noting. For example: Rotating […]
Come funziona un attuatore elettrico?
Once connected to a power supply (AC380V, AC220V, AC24V, or DC24V), DCL electric actuators can be controlled by a Distributed Control System (DCS) using various control signals, including analog signals, digital signals, bus communication, and IoT networks. The actuator drives the electric valve to fully open, fully close, or adjust to a specified position, enabling […]
Perché scegliere un attuatore elettrico?
An electric actuator utilizes a motor-driven reduction mechanism to achieve both rotary and linear motion of a valve. Since it is powered by a motor, the electric actuator features a simple and reliable structure without requiring additional support systems like pneumatic or hydraulic sources. This results in higher energy efficiency and lower operational costs. At […]
Articoli tecnici
5 Steps to Start Using DCL Actuator
1. Install actuator onto the valve Turn the valve in fully closed position. Install the bracket on the valve. Connect the coupling on the valve shaft. Drive the actuator to the fully closed position with manual handle. Insert the actuator output shaft into the square hole of the coupling. Tighten the connecting between these parts. […]
Come funziona l'attuatore DCL
Previous:5 Steps to Start Using DCL Actuator Next:User Manual of DCL Actuator









 鄂公网安备 42018502006527号